
You're probably here because you fell in love with marker art, opened a tab for Copic, and then closed it after seeing the price. That reaction is normal. A lot of beginners assume great marker work requires premium tools from day one, but that's not how most artists grow.
Individuals need room to play. They need colors they're not afraid to “waste,” paper they can test on, and enough flexibility to make ugly pages while they learn. That's where affordable alcohol markers shine. They lower the pressure, which often makes the art better.
The good news is that this isn't a tiny niche anymore. The global alcohol-based markers market was valued at US$ 2.4 billion in 2022 and is projected to reach US$ 3.6 billion by 2031, with budget-friendly brands helping more hobbyists get started, according to Finance Yahoo's market report on alcohol-based markers. More artists are buying in, which means more options, more formats, and better entry points than artists had a few years ago.
Welcome to the Colorful World of Budget Art
You open a shop page looking for your first alcohol markers. One set looks polished and professional. Another costs far less and comes with more colors. Suddenly the fun part of starting feels replaced by a quiet question: am I buying a real art tool, or a shortcut I'll regret?
That moment trips up a lot of beginners, and for a simple reason. Marker prices can vary wildly, so it is easy to assume expensive means serious and affordable means second-rate. In practice, the better question is much more useful: which set gives you enough range and reliability to learn well?
Affordable alcohol markers opened the door for students, hobbyists, anime fans, journalers, and casual sketchers who want to make finished-looking work without building a collection one painful marker at a time. A larger budget set can give you room to test skin tones, shadows, foliage, and color families early. That matters because color sense grows through repetition. You learn faster when you can try, miss, adjust, and try again without treating every marker stroke like a financial event.
Why “affordable” is often the smarter word
“Cheap” points your attention to the lowest price tag. “Affordable” points your attention to value. That difference matters.
A good budget set is not trying to imitate a luxury brand in every detail. It is trying to give you a strong learning tool for the money, with enough colors and enough consistency to build real skills. This is the foundation of smart buying.
Here is what that often looks like in practice:
- More freedom to experiment because a marker feels usable, not precious
- A broader starting palette so you can study value shifts and color families sooner
- More attention on technique like layering, edge control, and contrast instead of brand status
Good marker art usually comes from steady practice, clean color choices, and paper control. It rarely comes from owning the most expensive barrel in the room.
Beginners often ask, “What's the cheapest set that looks professional?” A more helpful question is, “What set gives me the most practice for my budget?”
That small shift changes everything. You stop hunting for a miracle marker and start choosing tools the way a cook chooses a good everyday pan. It may not be the fanciest option on the shelf, but if it heats evenly and you use it often, it earns its place.
And if color planning feels overwhelming, do some of that work before the cap comes off. A simple converter like this DecoTime to Ohuhu color matching tool can help you compare ranges and avoid buying sets that look bigger on paper than they feel on the page.
What Makes an Alcohol Marker Affordable
The lower price of affordable alcohol markers isn't random. It usually comes from a handful of design and production choices. Consider the difference between a luxury car and a reliable daily driver. Both can get you where you want to go. One just includes more premium materials, more customization, and a more expensive brand ecosystem.
The real trade-offs
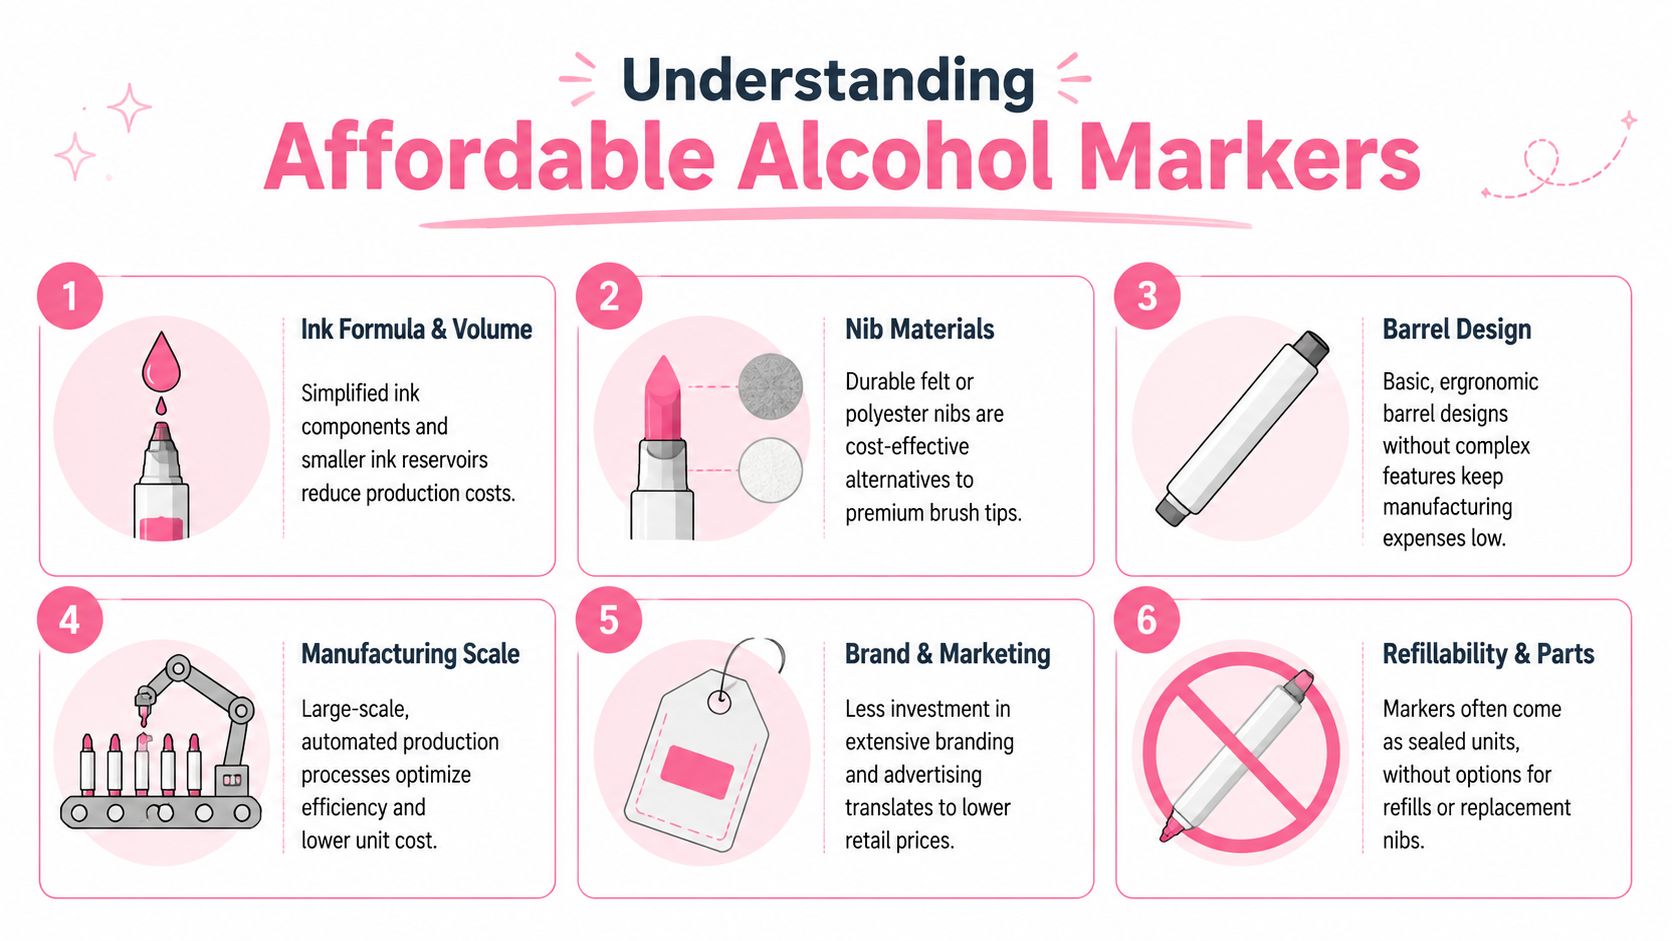
The first big factor is ink formulation. Affordable markers often keep costs down by using ethanol-based solvent formulations and acid-free dye pigments, which reduces manufacturing cost and odor while keeping the fast-drying, bleed-resistant behavior artists want for blending, as described in this explanation of marker solvent and pigment choices.
That sounds technical, so here's the plain-English version. The ink can still work very well, but the brand may simplify the formula so it's easier and cheaper to produce at scale.
Then there are nibs. Premium brush nibs often feel more responsive and durable over time. Budget markers may use simpler felt or polyester-style nibs that still do the job, but don't always have the same spring, softness, or longevity. If you color lightly and rotate your markers well, that difference may not bother you much. If you press hard, you'll notice it faster.
The barrel and body matter too. Expensive markers often have nicer plastics, stronger cap seals, cleaner ergonomics, and a more refined feel in the hand. Budget sets usually aim for functional first. You may get a simpler barrel shape, a plainer cap, or less elegant labeling.
Why the lower price doesn't mean useless
A lower price also reflects manufacturing scale and brand overhead. Big budget brands can produce large sets efficiently. They also tend to spend less on prestige packaging, specialty retail presentation, and the kind of long-running brand identity that premium companies build over years.
That's why a budget marker can be surprisingly capable without feeling premium in every detail.
Here's a simple way to judge the trade:
| Area | Premium marker | Budget marker |
|---|---|---|
| Ink feel | More refined and consistent | Often strong, sometimes less polished |
| Nib durability | Usually better long-term | Good enough for many hobbyists |
| Barrel design | More ergonomic and polished | Simpler, more basic construction |
| Refill system | More common | Often sealed and disposable |
| Upfront cost | Higher | Much lower |
If you're trying to compare sets across brands with different naming systems, a tool like the DecoTime to Ohuhu converter can make that process less confusing when you're planning purchases or filling color gaps.
Practical rule: Buy for the drawing experience you need now, not the fantasy version of yourself buying studio gear for some future masterpiece.
Key Features to Compare in Budget Markers
Once you understand why the price is lower, shopping gets easier. You stop looking for the single “best” set and start comparing the features that affect your art.
Nibs matter more than brand hype
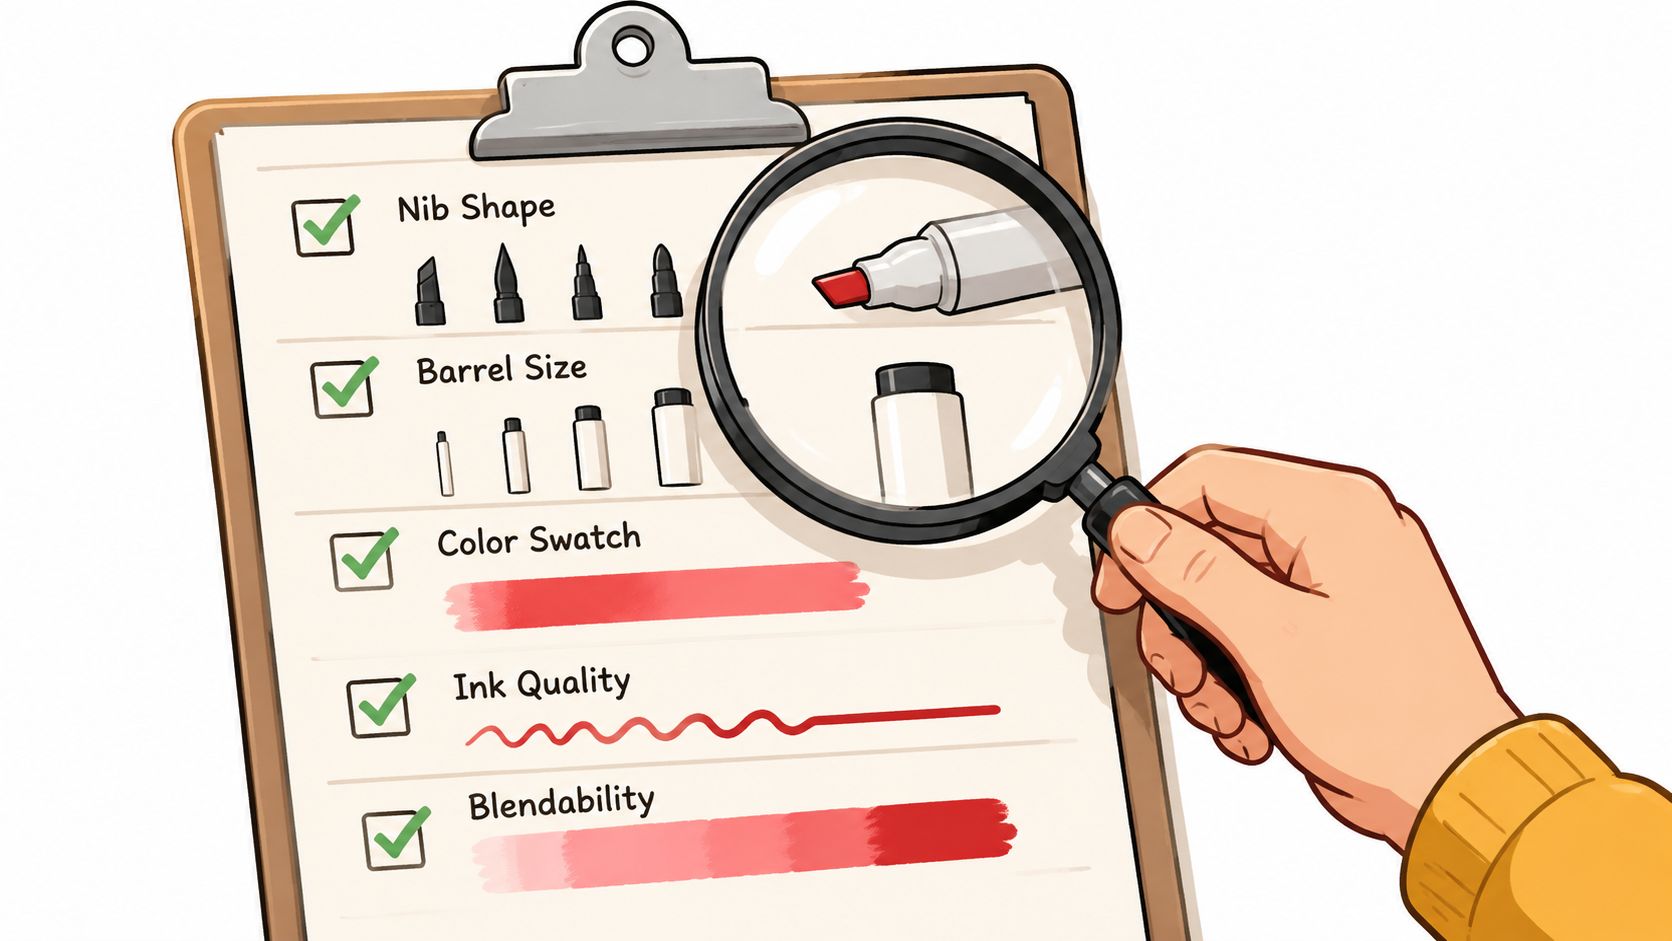
Most beginners care about color count first. I get it. A huge case of markers is fun. But the nibs shape your daily experience more than the total number on the box.
Budget markers often standardize around 0.4 to 0.6mm brush tips and 2.5mm chisel tips, and some reach 92% color blending consistency with premium alternatives like Copic, according to this breakdown of technical specs for alcohol marker types.
That means a well-chosen budget set can absolutely handle smooth fills, comic-style shadows, adult coloring pages, and concept sketching.
Here's how to think about common tip setups:
- Brush plus chisel works well for illustration, character art, florals, and expressive coloring.
- Bullet plus chisel feels firmer and can suit detailed coloring books or graphic shapes.
- Brush-heavy preferences usually come from artists who want softer transitions and more hand control.
If you mostly color small spaces, don't assume you need the softest brush nib. Some people do better with a firmer tip because it feels more predictable.
Set size versus useful color range
Big sets can be exciting, but they can also be chaotic. A beginner often gets more value from a balanced set with usable skin tones, grays, midtones, and a few darks than from a giant collection packed with near-duplicate bright colors.
I usually suggest asking:
- Do I have enough light values for blending?
- Are there useful neutral tones?
- Do I have colors I'll reach for weekly?
- Can I tell similar markers apart by code or cap design?
A giant set is only helpful if you can use it effectively. If every peach looks the same when capped, the “extra variety” won't help much on the page.
A quick buyer checklist
Use this scorecard before you click buy:
- Tip style fit. Match the nibs to your actual projects, not to a trend.
- Color balance. Look for lights, mids, darks, and neutrals instead of only saturated colors.
- Case usability. A flimsy case can make a good set annoying to use.
- Marker labeling. Clear names or codes save a lot of frustration.
- Refill path. If the brand offers any refill or replacement ecosystem, that's a plus.
A 48-color set that you understand is more useful than a giant set that overwhelms you.
The smartest purchase usually isn't the biggest one. It's the one you'll keep organized, keep using, and learn thoroughly.
Techniques for Professional Results on a Budget
Expensive markers can make some things easier. They can't replace good habits. If your paper is wrong, your strokes are rushed, or your colors fight each other, premium tools won't rescue the page.
Start with the paper, not the marker
When people say their markers look streaky or bleed too much, the marker often gets blamed first. A lot of the time, the actual problem is paper.
Alcohol markers like smooth surfaces that let ink move and settle evenly. Marker paper helps with that. So do bleed-resistant sheets. The goal isn't to stop all bleed forever. The goal is to control spread enough that blends stay clean and the back side damage doesn't ruin your workflow.
A few habits make a huge difference:
- Use a scrap sheet underneath so bleed doesn't reach the next page.
- Test every new color first because caps and swatches can disagree.
- Work from light to dark when you want smoother transitions.
- Leave tiny white highlights on purpose instead of trying to carve them back later.
Blend in passes, not in panic
Beginners often overwork alcohol markers because they expect instant perfection. The better approach is calmer and slower.
Lay down your light base. Add the midtone while the area still has a little openness to receive ink. Then return with the lighter color to soften the edge. You're not scrubbing the paper into submission. You're guiding one layer into another.
If a blend looks rough, stop pressing harder. That usually makes the nib fray and the patchiness worse.
Use fewer strokes than you think. Alcohol ink likes confidence.
This video gives a helpful visual sense of how marker motion and timing affect results:
Plan colors before ink hits the page
One of the most budget-friendly habits isn't even physical. It's planning.
If you've ever ruined a page by choosing a muddy combination halfway through, you already know why this matters. Digital palette planning lets you test ideas before touching your markers. A tool like the palette generator for marker-friendly schemes can help you sort out mood, contrast, and harmony before you commit.
That saves paper, preserves ink, and lowers stress. It's especially useful when you're working with affordable alcohol markers that may not have every subtle in-between shade. Good planning helps you make a smaller set behave like a smarter one.
Try this simple workflow:
- Pick a mood first, such as cozy, dramatic, soft, or comic-bright.
- Limit yourself to a small group of core colors.
- Assign one light, one mid, and one dark to each major area.
- Test the combination on scrap before the final page.
Technique stretches your budget farther than any sale ever will.
Smart Buying Strategies for Long-Term Value
The lowest price tag isn't always the best deal. With markers, the better question is how long the set stays enjoyable and usable.
Cheap upfront can cost more later
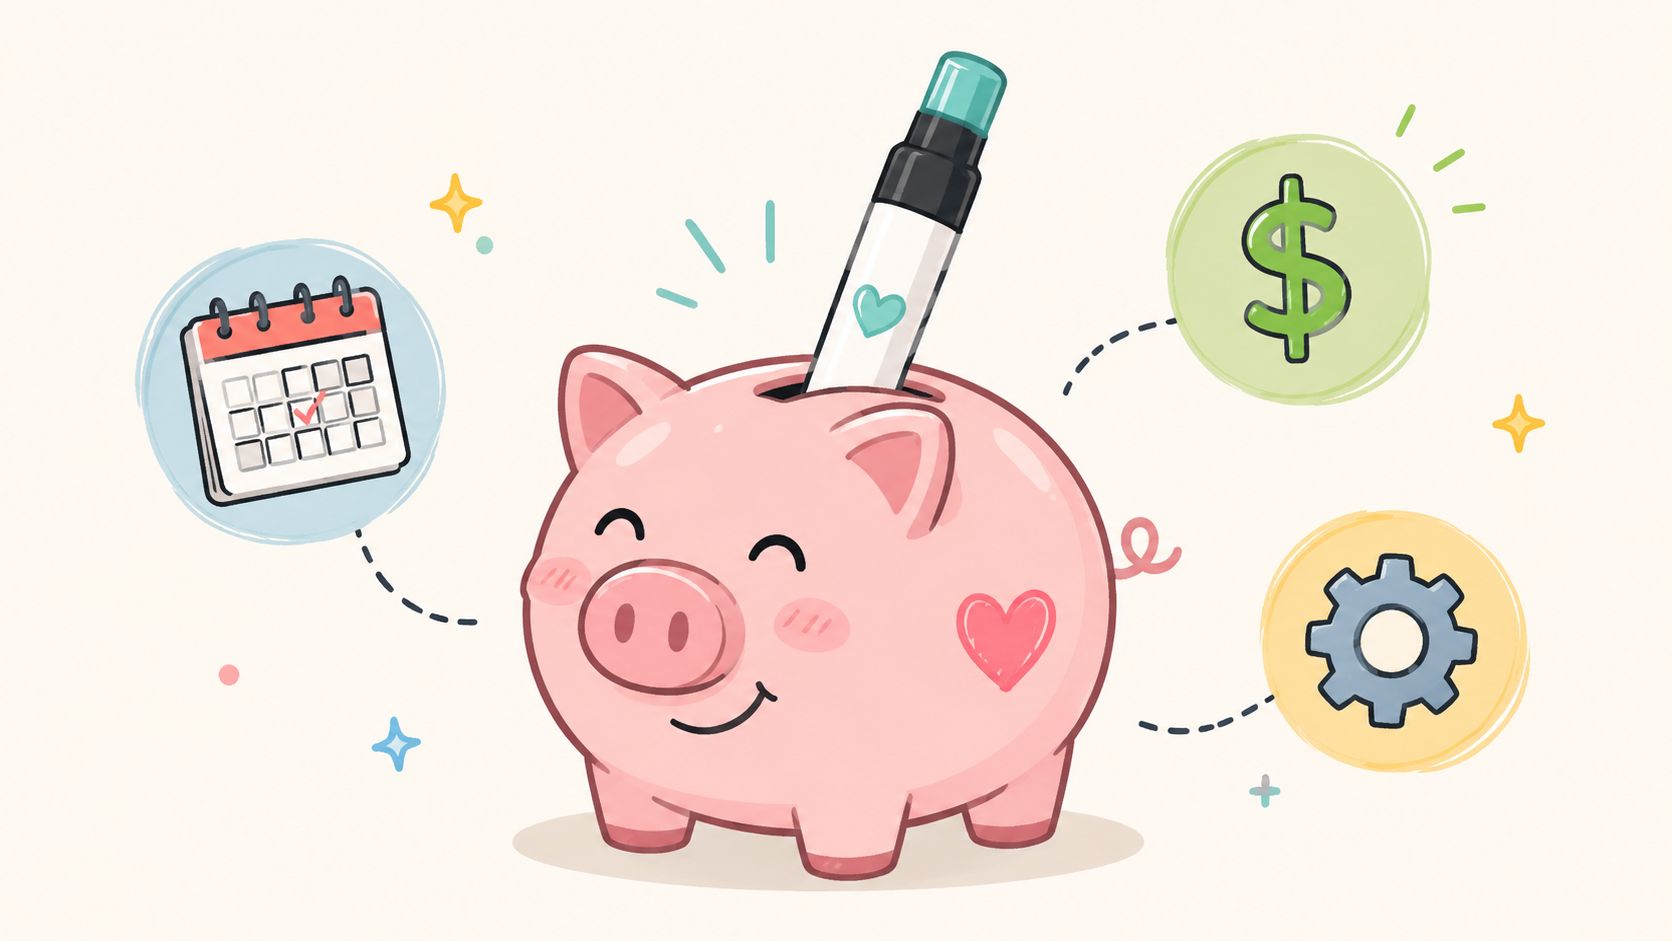
Some ultra-budget sets look amazing at first because the per-marker cost is tiny. But long-term value changes if the nibs wear down fast or the markers dry out before you've gotten much use from them.
According to Coloring Bliss's comparison of affordable alcohol marker options, data from 2025 shows that non-refillable sets costing 23 cents per marker can lose their value when nibs degrade, leading to hidden annual replacement costs of $50 to $80, whereas refillable options extend usability by 2 to 3 years.
That's the kind of number beginners rarely see on the product page.
So when you compare two sets, think in layers:
- Upfront price tells you what you pay today.
- Refillability affects whether a favorite marker becomes trash or stays in rotation.
- Nib quality shapes how long the set feels pleasant to use.
- Replacement friction matters. If re-buying means replacing the whole set, the bargain gets weaker.
If you want a side-by-side way to think through those trade-offs, a marker comparison tool can help organize features beyond just sticker price.
Watch for hidden extras
Another sneaky cost is missing functionality. Some economy sets look complete but leave out things beginners assume are included, like a usable blender or the tip style they need.
A smart shopper checks:
| Question | Why it matters |
|---|---|
| Does the set include the tips I want? | A low price doesn't help if the nibs don't suit my work |
| Is there a blender, and is it useful? | You may otherwise need extra purchases |
| Can I replace single markers or refill them? | This changes long-term value |
| Are the marker codes clear? | Better organization means less waste |
Buy the set you can keep using happily, not the one that only feels cheap for five minutes in your cart.
The artists who stay in the hobby tend to think this way. They protect their budget by looking past the first price tag.
Your Affordable Marker Journey Starts Now
You don't need luxury tools to make satisfying, vibrant marker art. You need a set that fits your budget, paper that behaves well, and enough patience to learn how your colors interact.
That's why affordable alcohol markers are such a strong starting point. They make practice accessible. They reduce the fear of wasting supplies. They give you room to test combinations, build confidence, and develop your own preferences.
The value gap is real. Ohuhu's 120-color range can cost as little as $0.50 per marker, while premium brands often cost $2.00 to $3.00 per marker, according to this comparison of affordable and premium marker pricing. That difference gives beginners something powerful: permission to practice.
What to remember when you buy
Keep these ideas close:
- Choose for use, not prestige. The best set is the one that supports your actual projects.
- Expect trade-offs. Lower cost may mean simpler barrels, sealed bodies, or less durable nibs.
- Let technique do the heavy lifting. Good layering and good paper beat expensive gear used badly.
- Think long-term. A refillable or better-built set can save frustration later.
There's also a creative advantage to starting with budget tools. You become resourceful. You learn how to blend with what you have, how to plan color more carefully, and how to work around limits. Those skills stay valuable even if you upgrade someday.
You already have enough information to make a smart choice. Pick a set that feels manageable, make a few ugly swatches, and start coloring. That's how marker artists are made.
Frequently Asked Questions About Budget Markers
Can I mix budget markers with premium markers
Yes, you can. Many artists mix brands all the time, especially when one line fills a color gap another line doesn't cover well. The key is to swatch them together first.
Pay attention to three things: how wet the ink feels, how the color dries, and whether one marker pushes the other around more aggressively. If a premium marker feels juicier than your budget set, use a lighter hand when blending the two.
A practical approach is to let one brand handle broad base layers and use the other for accents, shadows, or detail work until you learn how they interact.
Are budget markers good for finished artwork and prints
They can be great for finished artwork, especially for hobby illustration, coloring pages, manga-style work, and sketch-based concept art. The main thing to remember is that “good for art” and “ideal for archival display” are not always the same question.
If you plan to sell originals or make prints, test your workflow carefully. Keep a dated sample, note the paper used, and watch how the colors hold up in your storage conditions. For print-based products, scanning your work early is a smart habit because it preserves the look you created that day.
That cautious mindset matters more than the brand tier.
What's the best way to store alcohol markers
Store them in a stable environment, cap them firmly, and keep them organized enough that you'll use the right colors instead of digging through a pile. Gentle treatment extends life.
Most artists also do well with a simple routine:
- Keep swatches nearby so you don't over-open markers while searching.
- Avoid heat and direct sun because storage conditions affect ink behavior.
- Use a consistent system such as grouping by family, value, or project.
- Check favorites regularly because the most-used markers need the most attention.
If a marker starts feeling dry at one end, don't assume it's dead instantly. Check the other tip, clean the cap edge, and test on proper paper before retiring it.
Budget markers reward care. If you treat them like throwaways, they'll behave like throwaways. If you store them well and use them thoughtfully, many sets perform far above what their price suggests.
If you want a calmer way to plan marker palettes before you commit ink to paper, ColorBestie is a helpful companion. It turns black-and-white sketches into marker-style color inspiration, helps you compare sets, and gives hobbyists a low-pressure way to test ideas before they color the final page.