You're probably staring at a marker set right now, doing the math in your head. One box looks cheap enough to try. Another has prettier packaging. A professional brand sits off to the side with a price that makes you close the tab for a minute and question the whole hobby.
I get it. Alcohol markers can feel like one of those art supplies where the “real” version is too expensive, and the cheap version feels risky. You want smooth blends, juicy color, and enough shades to make coloring books, manga pages, or comic art look polished. You also don't want to waste money on a giant set that dries unevenly, bleeds through your paper, or leaves you replacing the same colors over and over.
That's why the cheapest alcohol markers aren't always the best deal. The better question is this: which markers give you the most art for your money over time?
Beyond the Sticker Price of Cheap Markers
A few years ago, if you wanted alcohol markers, you usually had to choose between a tiny handful of expensive singles or a serious investment in a premium set. That changed fast. The broader art and craft supplies market was valued at about USD 25.6 billion in 2018 and is projected to reach roughly USD 37 to 38 billion by 2029, while budget alcohol marker sales on major platforms more than doubled between 2017 and 2022, with low-cost markers often landing in the USD 0.30 to 0.80 per marker range according to market figures summarized here.
That shift is great news for hobby artists. It means brands like Ohuhu, Arteza, and similar budget lines are much easier to find than they used to be. You can now get started without making the kind of purchase that feels like buying a small appliance.
But low entry cost can hide expensive habits.
A cheap set feels like a win on day one. Then real use begins. You discover the skin tones you need are limited, the light gray is already getting weak because you use it in every piece, or the brush nib on your favorite blender substitute starts to feel rough. Suddenly the bargain isn't just the set price. It's the set price plus replacement choices, paper waste, and the frustration tax of working around missing colors.
Practical rule: Don't ask only “What does this set cost?” Ask “What will it cost me to keep using it well?”
That's the mindset that separates a lucky purchase from a smart one. If you learn to judge markers by long-term value instead of sticker shock, even the cheapest alcohol markers can become part of a collection that feels capable and satisfying.
Decoding Price Tiers What Cheap Really Means
Cheap doesn't mean one thing. In marker land, it usually means you're trading some combination of consistency, comfort, refill support, and color organization for a lower upfront cost.
The easiest analogy is coffee. Instant coffee is cheap and fast. A decent cafe drink costs more but gives you a better experience. A full espresso setup costs the most, but it's built for repeat use and control. Markers work a lot like that.
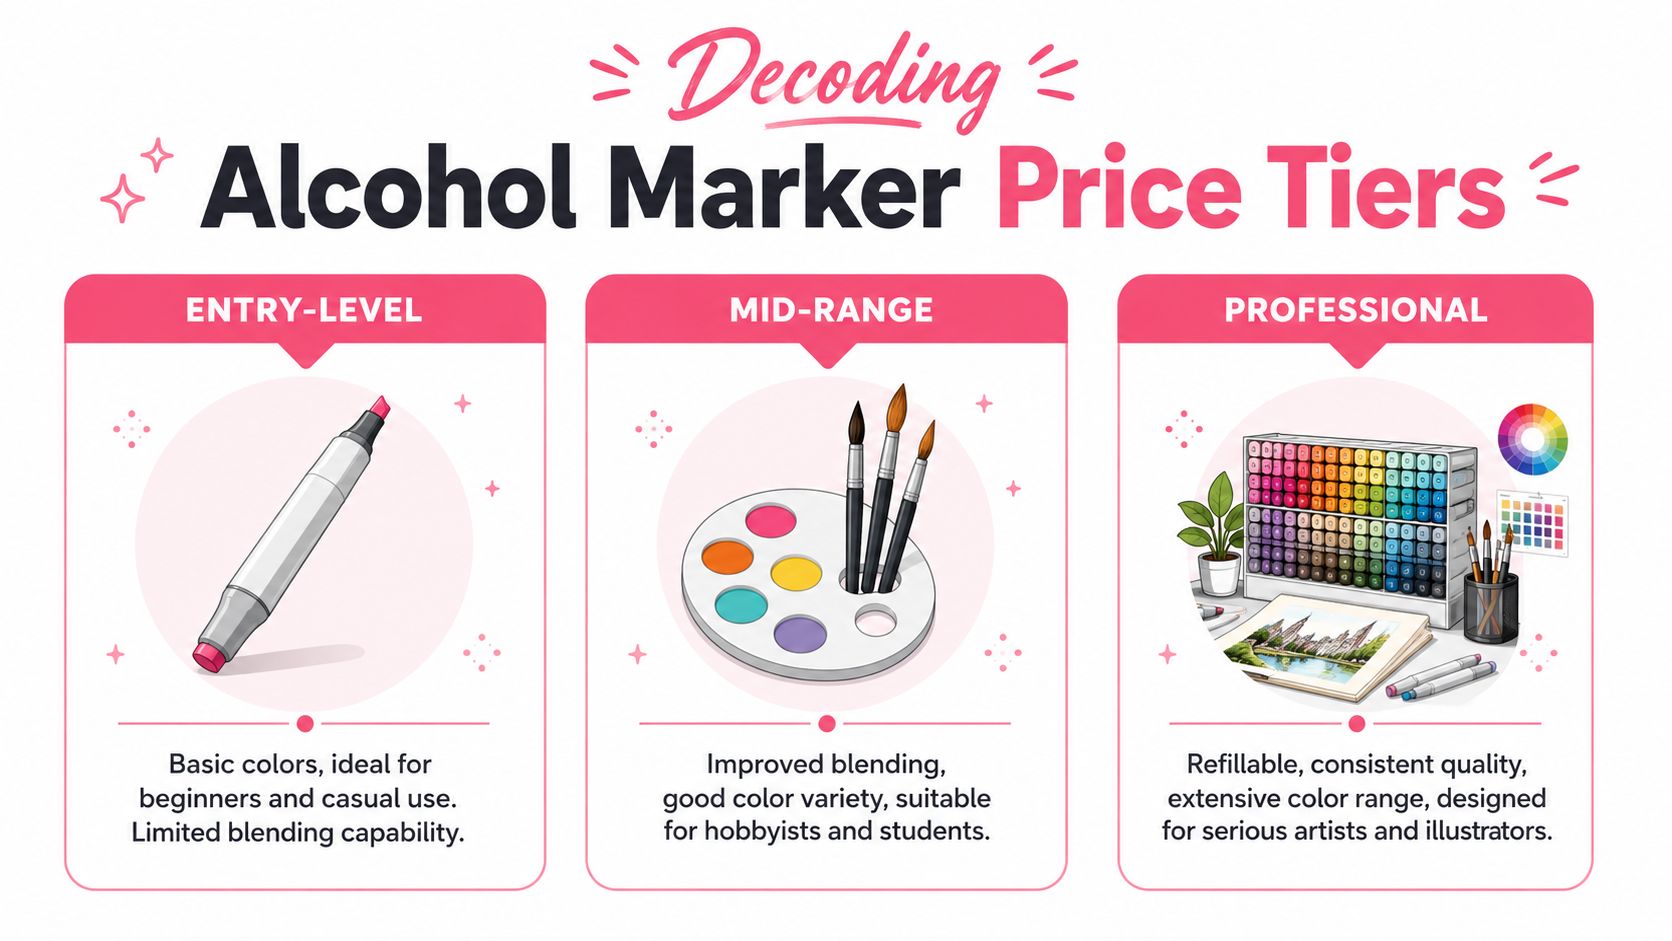
By the early 2020s, 48-piece budget alcohol marker sets sold for about USD 18 to 22, or roughly USD 0.35 to 0.45 per marker, while professional-grade Copic Sketch markers could retail for USD 4 or more per marker. That makes the budget option roughly 85 to 90 percent cheaper per unit, based on this pricing overview.
The three tiers most artists run into
Budget tier is a common starting point. Think Ohuhu Honolulu and similar sets sold in larger bundles. These are often the cheapest alcohol markers worth considering because they usually give you enough colors to learn blending, shadows, and layering without buying singles.
Mid-range tier sits in the practical middle. A line like Spectrum Noir often appeals to hobbyists who want a more polished feel, better consistency, or a more curated color system than a bargain-bin set.
Pro tier is built for repeat, heavy use. Copic Sketch is the classic example. In this tier, refill systems, broad color libraries, and long-term replaceability become part of the value.
What changes as price goes up
The biggest change isn't just “quality.” It's control.
With budget markers, you can absolutely make lovely art. What you give up is predictability. One blue may feel beautifully juicy while another from the same set feels drier. Cap colors might be off. Naming systems can be messy. Sometimes the set includes shades you won't touch and skips colors you'll crave constantly.
Mid-range markers often feel more intentional. The palette may be easier to understand. The flow may feel steadier. The body shape and nibs may be nicer in the hand during longer sessions.
Professional markers usually shine in four places:
- Color consistency: The marker you use today is more likely to match the one you replace later.
- Refill support: You don't have to toss the whole marker when one favorite shade runs low.
- Nib maintenance: Worn tips are often less final.
- System depth: You can build a collection over time instead of rebuying overlapping bundles.
Here's the quick comparison most beginners need:
| Feature | Budget Tier (e.g., Ohuhu Honolulu) | Mid-Range Tier (e.g., Spectrum Noir) | Pro Tier (e.g., Copic Sketch) |
|---|---|---|---|
| Upfront cost | Lowest | Moderate | Highest |
| Color selection in sets | Often large and tempting | More curated | Extensive system |
| Blending feel | Can be good, less predictable | Usually steadier | Most consistent |
| Refill options | Varies by line | Varies by line | Commonly part of the system |
| Nib replacement | Limited or inconsistent | More likely than budget | Usually better supported |
| Best for | Beginners, casual coloring, experimentation | Regular hobby use, students | Serious illustrators, frequent users |
If you're comparing specific lines, a tool like ColorBestie's marker comparison tool makes it easier to see where a set fits before you buy.
Cheap can be excellent for learning. It just helps to know whether you're buying a starter tool or a long-term system.
The Smart Buyer's Toolkit Calculating True Cost
The biggest shopping mistake I see is simple. People buy the largest set they can afford, assume the lowest price per marker means the best deal, and only later notice how many of those colors they never reach for.
That's backward.
The better measure is true cost. Not just what the set costs when it lands on your doorstep, but what it costs to keep making art with it smoothly.
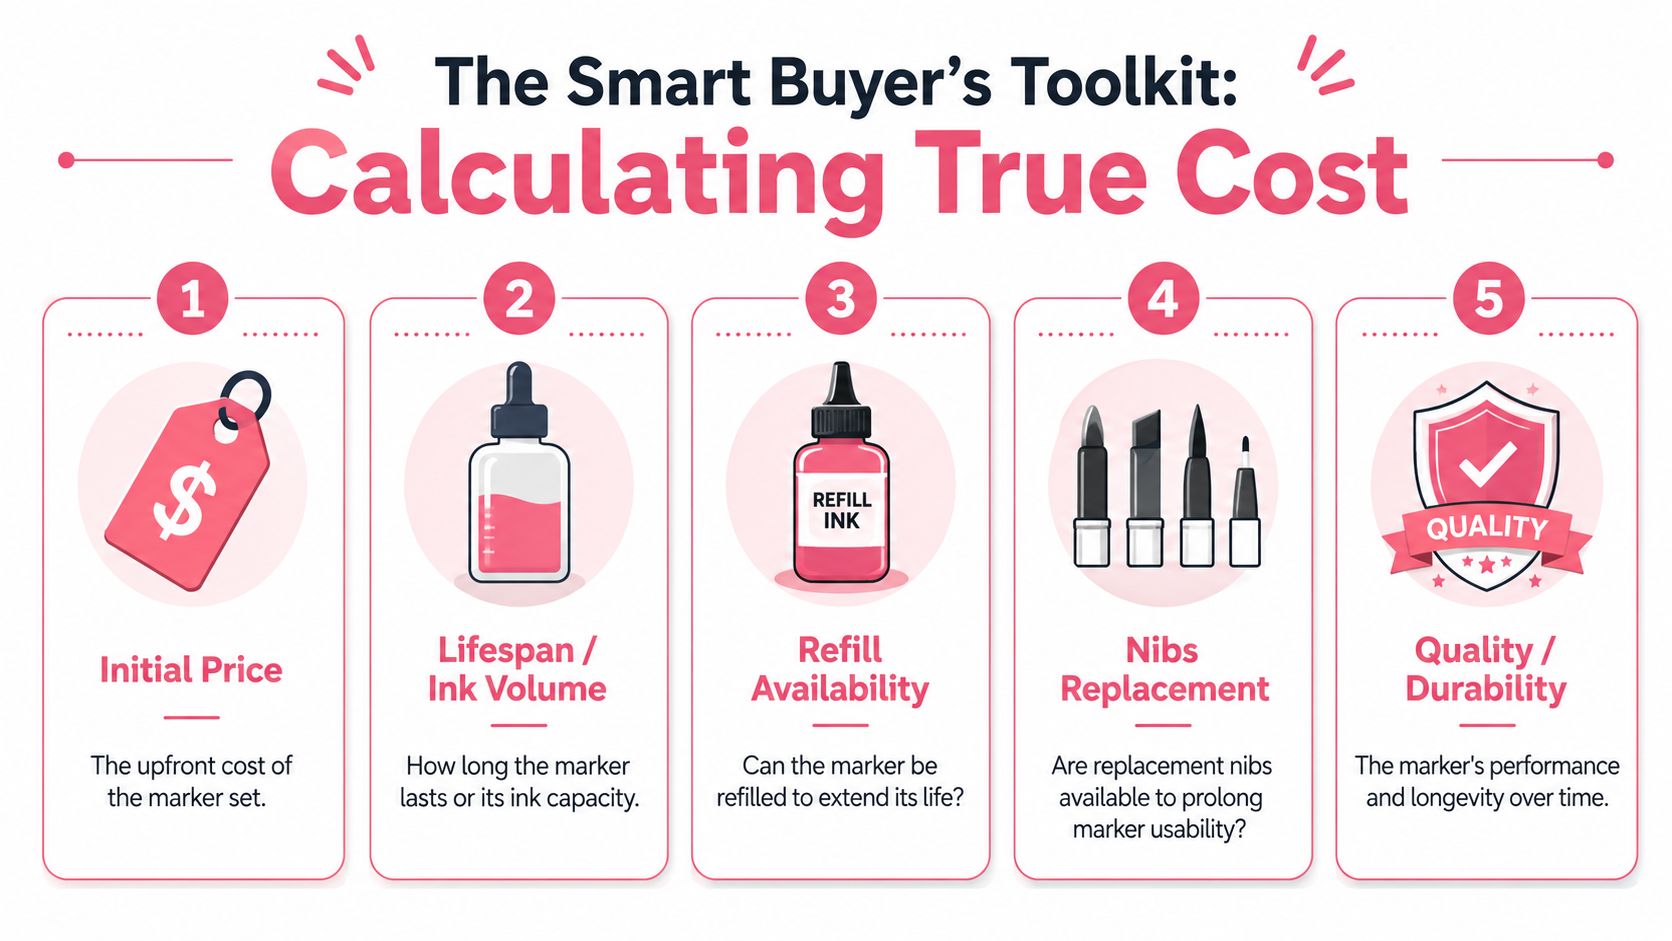
Many reviews focus on upfront price but rarely measure how long a budget set lasts before refills, nib replacement, or color shifts become a problem, which creates a real blind spot for frequent colorists, as noted in this affordable marker review discussion.
The hidden costs most reviews skip
The first hidden cost is heavy-use colors. Most artists don't use every marker equally. Skin tones, warm grays, cool grays, shadow browns, and a few favorite greens often do most of the work. If your set can't replace those individually, the cheap purchase starts getting awkward fast.
The second hidden cost is paper waste. Some budget markers are perfectly usable, but they may flood cheaper paper, feather more aggressively, or encourage overworking because the blend didn't land the first time. That doesn't mean the marker is bad. It means the total cost of using it includes extra test sheets and occasional ruined pages.
The third cost is palette chaos. Big inexpensive sets sometimes look generous on paper but feel random in practice. You may have five reds that are nearly cousins and no muted olive you need for leaves, uniforms, or shadows. Then you buy another set to fill gaps and end up paying for duplicates.
A marker you can trust is often cheaper than a marker you have to fight.
A simple way to judge value before you buy
I like to think in projects, not marker counts. Before buying, ask yourself:
- What do I color most often? Adult coloring books, manga faces, fashion sketches, comic panels, and botanical pages all stress different parts of a palette.
- Which colors will I burn through first? If it's skin tones and grays, a set without a replacement path may cost more over time.
- Can I live with this nib setup? Brush tips are flexible and expressive. Bullet and chisel tips can still do good work, but they ask for a different hand.
- Will I outgrow this set? Some cheap marker sets are excellent learning tools. Others become frustrating once your control improves.
A quick practical check helps too:
- Look for duplicates in spirit: Not exact dupes, but colors that are so close you won't use both often.
- Check the light values: Budget sets often look rich in midtones and weak in pale transition shades.
- Ask about replacements: Even if you don't buy refills now, having the option matters.
- Read swatch photos carefully: Cap colors can lie.
If you're comparing numbering systems between popular budget lines, this marker conversion helper can save you from buying overlap by mistake.
Strategies for Saving Money on Alcohol Markers
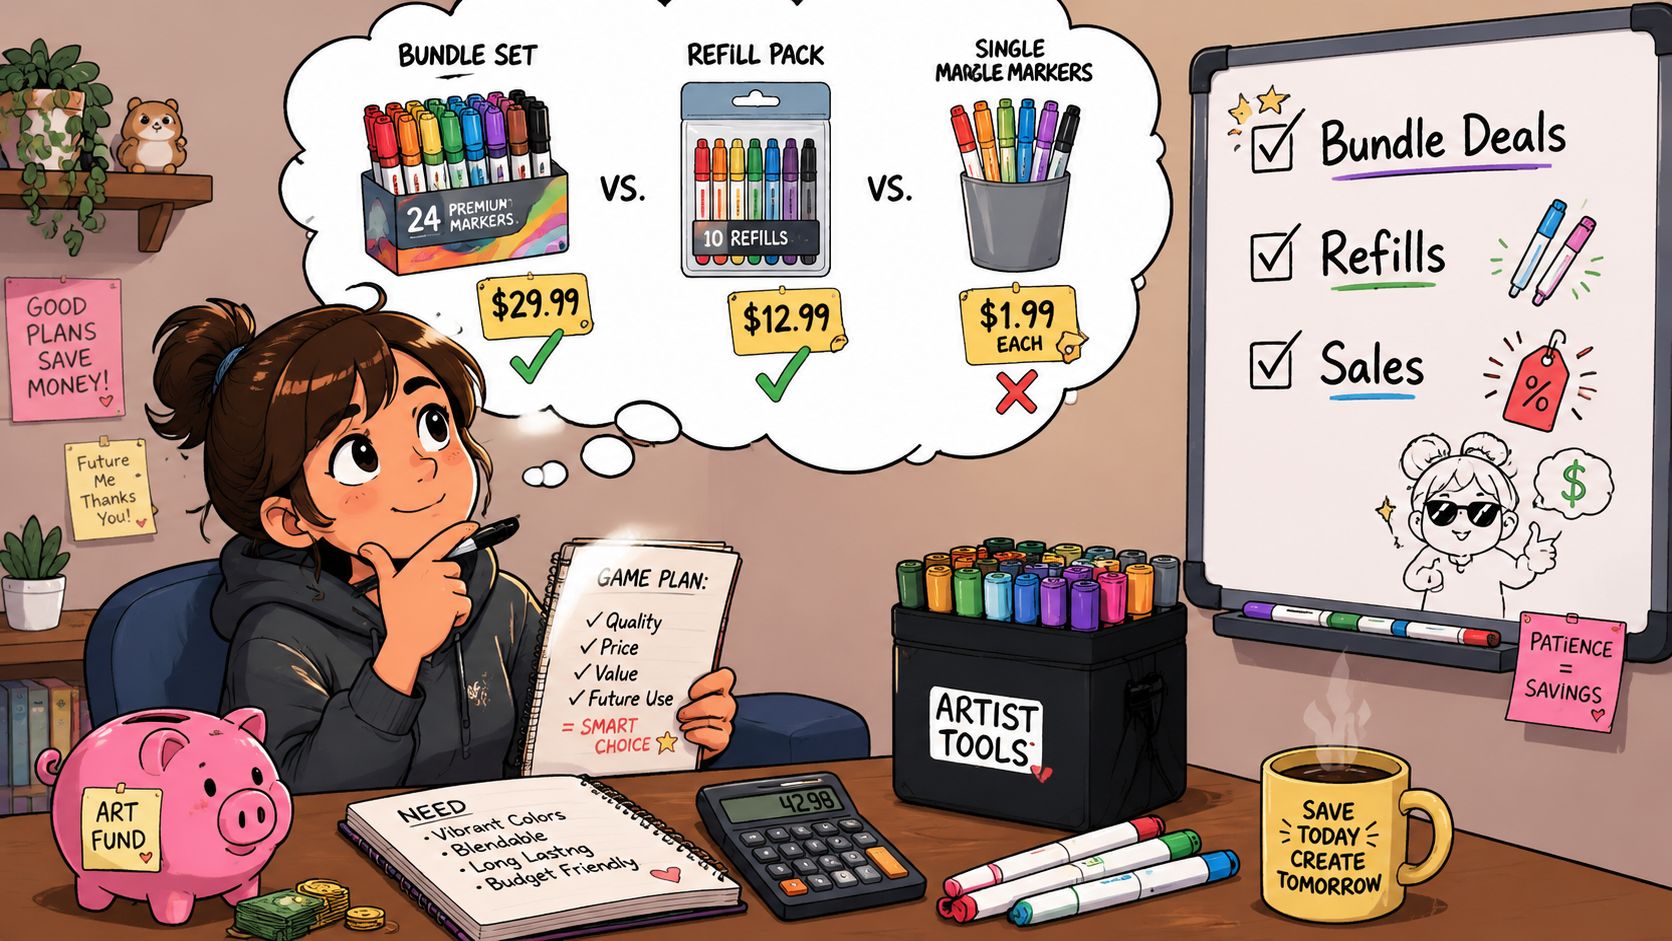
Saving money on markers isn't about always choosing the lowest price. It's about spending where it changes your results and avoiding spending where it doesn't.
Buy for your actual art style
If you mostly color floral pages, cozy interiors, and cute characters, you probably don't need a massive set loaded with highly saturated industrial blues and intense neon shades. If you draw manga, pale skin tones, cool shadows, and clean grays may matter more than having every possible green.
That sounds obvious, but it's where many people overspend. The biggest set looks efficient. A better-matched set often performs better because more of your purchase gets used.
Try this filter before checkout:
- For coloring books: Prioritize smooth midtones, skin tones, greens, and shadow neutrals.
- For manga and comics: Look for clean pale values, useful grays, and a few strong accent colors.
- For journaling and casual doodles: A smaller set with dependable everyday shades may be enough.
- For realistic rendering: Transitions matter more than sheer color count.
Shop like a supply nerd
Marker prices bounce around. Packaging changes. “New version” labels appear. Bundle sizes shift. A little patience can keep you from paying for hype instead of function.
A few habits help:
- Compare per-marker cost carefully: A large set may look cheaper per marker, but only if you'll use the range.
- Check nib configuration first: Brush/chisel and brush/fine sets can feel like different products in real use.
- Look at swatches, not cap photos: Budget sets are famous for misleading caps.
- Read the complaints, not just the praise: If multiple artists mention the same weak area, pay attention.
Buying habit worth keeping: Spend your budget on colors you'll reach for weekly, not on bragging-rights quantity.
Stretch every marker further
The cheapest alcohol markers become much cheaper to own when you use them with intention.
Start with a working palette, not the whole case. Pull a small group of markers for the page you're doing and put the rest away. That cuts down on random over-layering and helps you notice missing transitions before you start.
Then protect the nibs and ink you already bought:
- Cap markers immediately: Alcohol ink evaporates. Don't leave tools open while you hunt for the next color.
- Use smooth marker-friendly paper: Rougher paper can wear nibs faster and drinks ink.
- Swatch every set by hand: Your own swatches tell the truth better than the barrel or cap.
- Stop before mud happens: Cheap markers often look best with fewer passes, not more.
Another strong money-saving move is mixing media instead of forcing your markers to do everything. Colored pencil over alcohol marker can handle texture, tiny details, and last-step shadows without draining your favorite shades. A white gel pen can rescue highlights without extra fuss. Fineliners can carry detail so your alcohol markers only handle the jobs they do best.
Think in upgrades, not complete replacements
A lot of artists jump from a cheap set straight to dreaming about a premium wall of markers. Usually, that isn't necessary.
A better path is layered:
- Keep your budget set for broad color coverage.
- Upgrade the colors you use hardest.
- Improve your paper.
- Add a few specialty markers only when you know why you need them.
That approach gives you a working collection instead of a constant restart. It also protects you from buying the same kinds of shades again and again in slightly different packaging.
Getting Professional Results with Budget Markers
Good results don't come from expensive markers alone. They come from using the markers you have in a smarter way.
The nice surprise with budget brands is that they often perform far above their price when you control the setup well. Paper, swatching, layering discipline, and color planning matter at least as much as the logo on the barrel.
Paper matters more than people think
If your cheap markers feel streaky, too wet, or impossible to blend, the paper may be the main problem.
Standard printer paper and many coloring book papers grab ink unevenly. That leads artists to blame the marker when the surface is fighting every stroke. Marker paper, smooth cardstock that tolerates alcohol ink, or a dedicated marker pad can make a budget set feel much more controlled.
A few paper habits make a huge difference:
- Use a barrier sheet underneath: Bleed-through is normal with alcohol markers.
- Test blends in the margin or on scrap: Don't audition colors on the final page.
- Work lighter than you think: Flooding the surface rarely improves a cheap marker blend.
- Let layers settle briefly: Some transitions look rough at first and smooth out as the ink evens.
Swatching saves ink and frustration
Budget sets often have the most confusing caps. Two greens can look identical outside and behave very differently on paper. One peach may dry darker than expected. A gray may lean blue. If you skip swatching, you'll waste both ink and paper correcting avoidable surprises.
Make a personal swatch chart the day you get a set. Not later. Right away.
Include:
- the marker code,
- the actual dried color,
- a small blend next to its nearest neighbor,
- a note if a marker feels unusually wet or dry.
That last bit matters. You're building a working map, not a pretty display.
Your swatch chart is more trustworthy than the cap, the listing photo, or your memory.
Color planning beats owning more markers
This is the quiet secret most beginners miss. Professional-looking pages don't always use more colors. They use better relationships between colors.
A limited set can look polished if you choose a controlled group before you start. Maybe it's two skin tones, two browns, one warm gray, one cool gray, and three clothing accents. Maybe it's an earthy botanical palette with soft greens and muted reds. The point is intention.
When a budget set feels random, planning becomes even more valuable. A digital helper like ColorBestie's palette generator can help you preview marker-friendly combinations before you commit ink to paper, which is especially useful when your physical set has gaps or odd jumps between shades.
Try this workflow:
- Pick the mood first. Soft, cozy, dramatic, retro, comic-bright.
- Limit yourself to a small palette for the page.
- Test the group together on scrap paper.
- Use your lightest tones to connect transitions.
- Finish details with pencil or pen instead of overworking the markers.
After you've got a palette in mind, it helps to watch another artist handle blending pressure, layering, and edge control in real time:
One last trick from the budget-marker trenches. Save your best-performing markers for the jobs where they shine. If one pale blender-ish shade is magical, don't waste it filling giant areas. Use it where soft transitions matter most. If a darker marker gets streaky in large fills, use it in smaller shadow shapes instead. Working with the personality of a cheap marker often looks better than forcing it to behave like a premium one.
Conclusion Your Affordable Coloring Journey Starts Here
The cheapest alcohol markers can absolutely help you make art you're proud of. The key is choosing them with open eyes. A low price is useful, but it isn't the whole story.
The advantage comes from understanding what tier you're buying, noticing the hidden costs that show up after the unboxing, and matching your set to the kind of art you make. Add better paper, honest swatches, and smarter palette choices, and a budget set can go much further than most reviews suggest.
That's good news if you've been hesitating. You don't need a studio full of premium markers to start coloring beautifully. You need a sensible set, a few solid habits, and permission to learn as you go.
Buy slower. Swatch everything. Use the shades you love on purpose. Upgrade only when a real need shows up.
That's how you build an affordable marker collection that feels satisfying instead of chaotic. And that's how your hobby stays fun.
If you want a calmer way to plan colors before you touch paper, ColorBestie is a handy companion. It helps you preview marker-friendly palettes, compare popular marker lines, and test ideas before you spend ink on the page.