
You're probably doing one of two things right now. You're standing in an art store aisle staring at rows of markers that all promise smooth blends, or you're scrolling online and wondering why every set seems to have different tips, different color counts, and a different idea of what “beginner-friendly” means.
That confusion is normal. Alcohol markers look simple from the outside, but your first set can feel oddly high-stakes. Brush nib or fine tip. Small set or giant case. Budget brand or premium one. Then there's the modern version of the same problem: you find a beautiful digital palette you love, but translating that screen inspiration into the actual markers in your hand is harder than it should be.
The good news is that choosing your first markers doesn't have to be complicated. If you use a color planning tool like ColorBestie, keep a few core ideas in mind, and shop for the kind of art you want to make, you can skip a lot of early frustration and get straight to coloring.
Welcome to the Vibrant World of Alcohol Markers
Alcohol markers have a way of making color feel immediate. You touch the nib to paper and the ink goes down smooth, bold, and saturated. For a lot of beginners, that first clean fill is the moment they understand why people love them.
They're also one of the easiest art supplies to overbuy. A giant case looks exciting, but it can leave you more confused than inspired. Too many beginners assume the “best alcohol markers for beginners” must mean the biggest set or the most famous brand. Usually, it means the set that helps you learn control without making every choice feel like homework.
What makes alcohol markers beginner-friendly isn't just price. It's how forgiving the tips feel, how easy the colors are to layer, and whether the set fits the kind of drawing you want to do. Someone filling cozy coloring pages has different needs from someone sketching manga faces or blocking in fashion designs.
The right first marker set should feel inviting, not intimidating.
A good beginner setup gives you room to play. It lets you test shadows, blend edges, and make mistakes without feeling like every stroke costs too much or every color choice has to be perfect.
That's the mindset worth bringing into the art store. You're not shopping for a lifetime collection. You're picking a first set that will teach your hand what these markers can do.
Understanding the Anatomy of an Alcohol Marker
An alcohol marker is simple once you know what each part does. Learning the anatomy helps because product listings often throw around terms like brush nib, fine tip, refillable, or oval barrel as if everyone already knows what they mean.
This visual helps put the parts in one place.
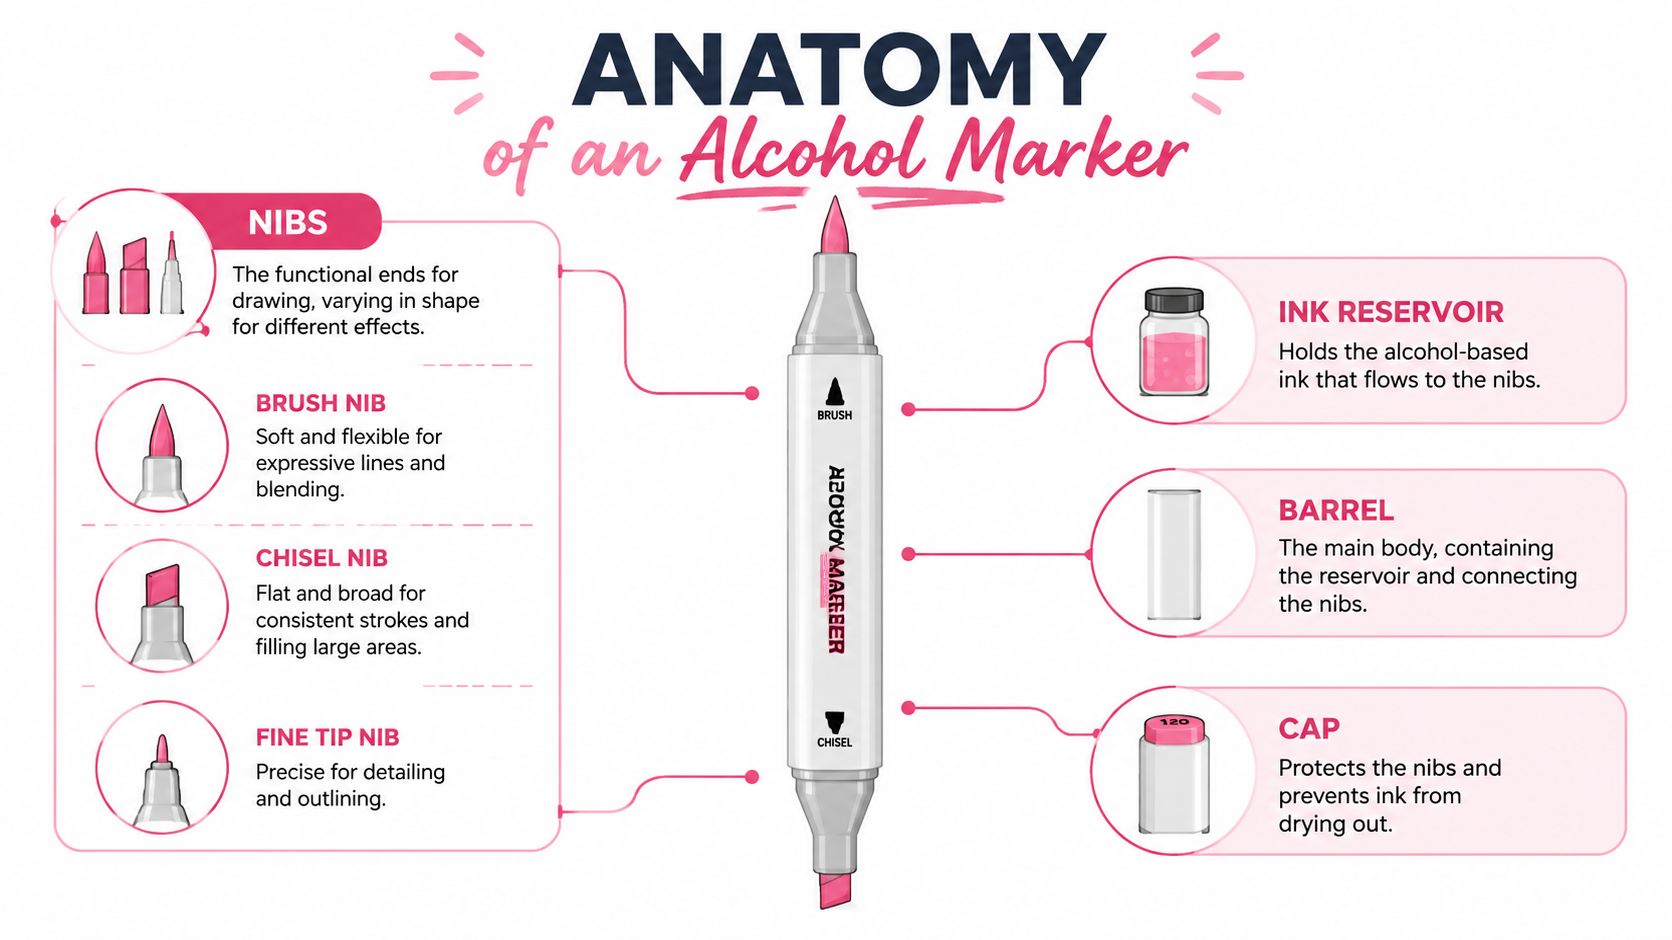
The three parts beginners notice first
The first thing you'll notice is the nib. That's the marker tip, and it controls how the marker feels on paper.
- Brush nib gives you a softer, more flexible stroke. It works much like a small paintbrush. It's useful when you want flowing lines, gentle blends, or a little pressure variation.
- Chisel nib is flatter and more angular. It behaves more like a tidy highlighter. It's great for broad fills, straight edges, and covering larger spaces quickly.
- Fine tip nib is for tighter control. If you color tiny spaces, draw outlines, or work on manga details like eyelashes and folds, this tip feels steadier.
The second part is the ink reservoir inside the barrel. That's where the alcohol-based ink sits. This ink moves quickly, dries fast, and layers more smoothly than many water-based markers, which is why beginners often love the clean look.
The third part is the barrel itself. This sounds minor, but it matters. A marker that's awkward to hold can make your hand tense, especially if you color for long stretches. Some barrels are square-ish, some are rounder, and some feel chunkier in the hand.
Why tip combinations change the experience
A lot of shopping confusion comes from dual-tip combinations. Some sets pair brush + chisel. Others use fine + chisel. That isn't just a packaging detail. It changes how easy the marker feels to use.
According to Art Is Fun's guide to alcohol marker brands, beginner-friendly lines differ in whether they offer brush + chisel or fine + chisel, and that affects control, line variation, and how forgiving the marker feels. The same guide notes that the best starter choice depends on whether you want smooth fills for adult coloring, tight outlines for manga, or expressive strokes for sketching.
That use-case lens makes shopping much easier:
| Use case | Most helpful nib setup | Why it works |
|---|---|---|
| Adult coloring | Brush + chisel | Smooth fills and easier soft blends |
| Manga and line-heavy art | Fine + chisel | Better control around outlines and small shapes |
| Loose sketching | Brush + chisel | More expressive strokes and varied line width |
Practical rule: If you mostly color printed pages, a brush nib usually feels friendlier. If you mostly draw tiny details, a fine tip often feels less slippery.
You may also see refillable and replaceable nibs mentioned in premium systems. For a beginner, those are nice extras, not must-haves. The bigger question is simpler: does this marker shape, tip combo, and feel match the way you want to color?
Popular Beginner Marker Brands Explored
When people ask about the best alcohol markers for beginners, they're usually asking two questions at once. Which brands are affordable enough to start with, and which ones are pleasant enough to keep using after the novelty wears off?
A helpful way to think about brands is to treat Copic as the premium benchmark. It gives you context. Then you can compare more budget-friendly options by asking what they offer for a lower upfront cost.
A quick comparison at a glance
Budget-focused beginner brands such as Ohuhu, Shuttle Art, Arteza, and Arrtx are often recommended because they offer larger color counts at lower per-marker cost, often around $0.80 to $1 per marker according to this Syloon roundup of alcohol markers. That's one reason they're widely seen as an affordable alternative to premium brands when you're learning.
Here's a practical comparison table:
Beginner Alcohol Marker Brand Comparison
| Brand | Avg. Price Per Marker | Nib Types | Refillable? | Best For |
|---|---|---|---|---|
| Copic | Premium benchmark | Varies by line | Often part of the premium system | Artists who already know they want a long-term pro system |
| Ohuhu | Around $0.80 to $1 per marker | Often brush + chisel or fine + chisel | Varies by line | Beginners who want lots of color options for less |
| Shuttle Art | Around $0.80 to $1 per marker | Commonly dual-tip sets | Usually not the focus | Casual coloring and practice without a big investment |
| Arteza | Around $0.80 to $1 per marker | Commonly dual-tip sets | Varies | Hobby artists who want a balanced budget option |
| Arrtx | Around $0.80 to $1 per marker | Brush + chisel or fine + chisel depending on set | Varies by line | Beginners who want to choose by nib style |
If you want a side-by-side planning view before buying, this marker comparison tool can help you sort through brand families and set formats.
How each brand feels in real use
Ohuhu is often the first budget brand people mention, and for good reason. It tends to appeal to beginners who want a broad range of colors without jumping straight into premium pricing. That bigger range is useful when you're learning to move from one nearby shade to another.
Shuttle Art often makes sense for hobby colorists who want an accessible entry point. If your goal is to relax with coloring books, practice layering, and see whether alcohol markers are your thing, a budget-friendly set can do that job well.
Arteza sits in a similar conversation. It's often grouped with other starter-friendly brands because it gives new users room to experiment. That matters more than people think. Early marker practice involves waste. You'll test combinations that don't work, oversaturate paper, and discover that some colors look very different once dry.
Arrtx stands out when you care about nib format. Some users want brush + chisel. Others want fine + chisel. That choice can shape your whole first experience, especially if you're coloring line art versus sketching freehand forms.
A beginner doesn't need a “forever brand.” You need a brand that makes practice easy enough to continue.
The premium benchmark still matters. Copic remains the brand many artists compare everything else against. But for a true beginner, lower-cost brands often make more practical sense because they reduce the pressure of every test swatch, every mistake, and every page that turns into a learning exercise instead of a masterpiece.
How to Choose Your Perfect Starter Set
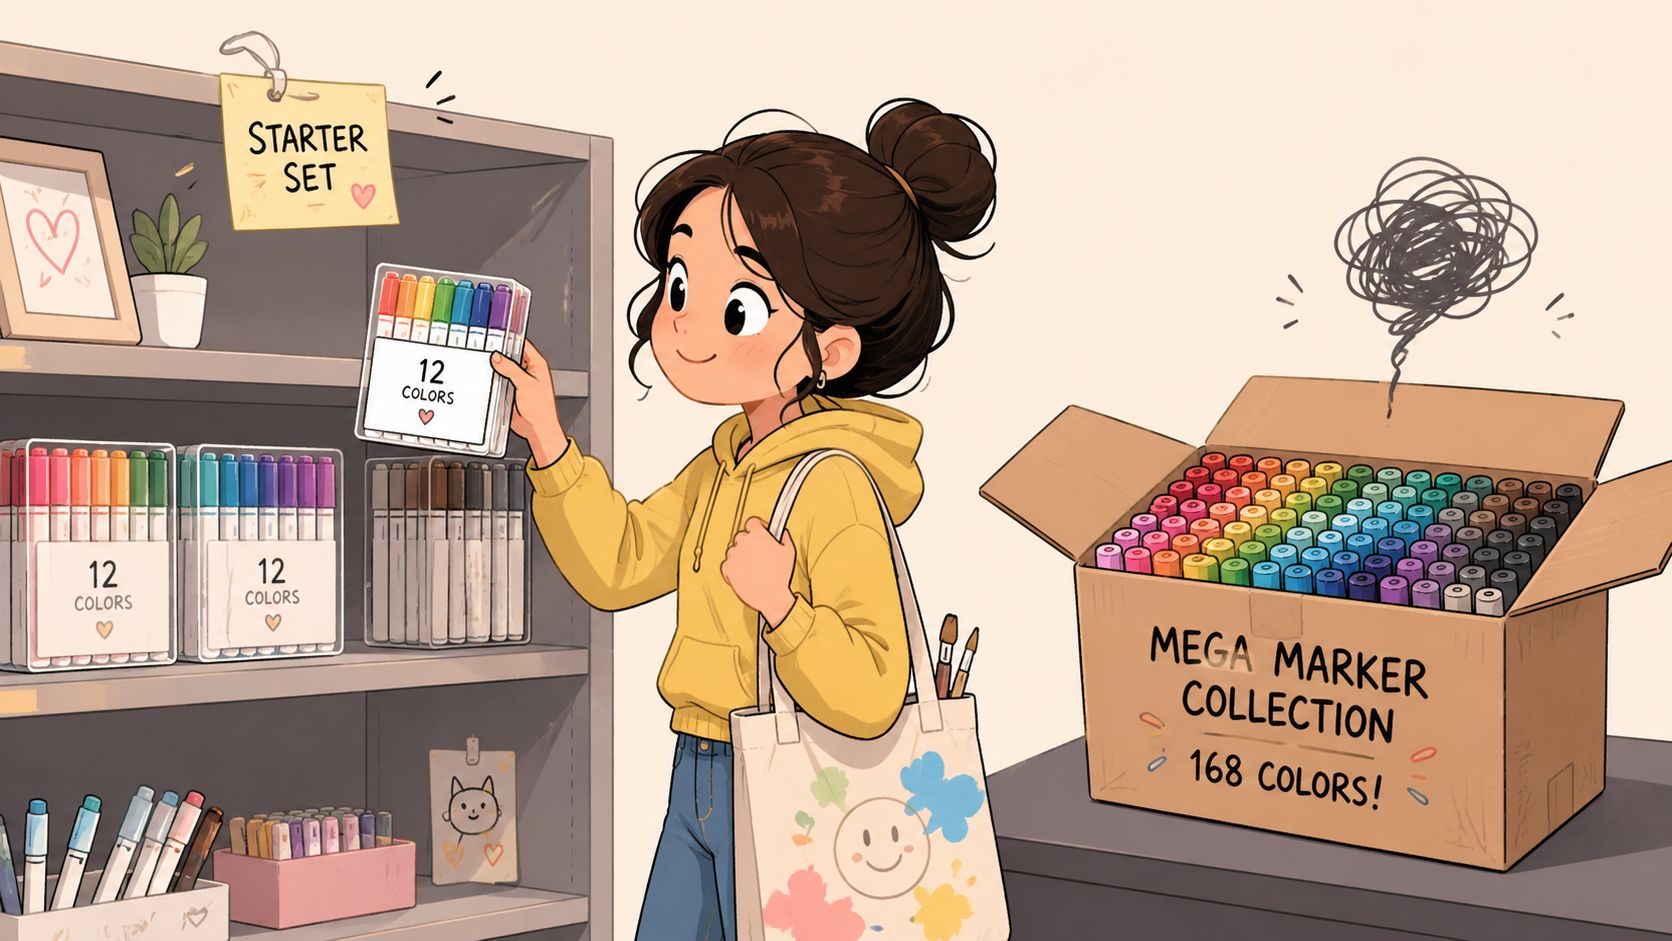
The smartest first purchase usually isn't the largest box on the shelf. It's the set that gives you enough range to practice light, middle, and dark values without burying you in choices.
Start with range, not excess
A practical beginner benchmark is a 24 to 48 marker starter set, because it gives you enough variety to practice blending without overwhelming you, as noted in this beginner guide to alcohol markers. The same guide emphasizes choosing a balanced mix of light, medium, and dark tones, because tonal spread matters more than sheer color count when you're learning.
That point is easy to miss when shopping. A giant set looks like better value. But if it gives you lots of scattered hues and weak value range, it won't teach blending as well as a smaller, more balanced set.
Think of color in little families. You want a pale blue, a medium blue, and a deeper blue. The same goes for greens, reds, browns, and skin-adjacent neutrals. That's what helps you create form. A face needs highlights, midtones, and shadows more than it needs twelve unrelated pinks.
What to look for inside the set
When you pick up a box, scan for these qualities:
- Balanced values. Look for visible light, mid, and dark options across key color groups.
- Useful neutrals. Grays, browns, and muted tones help you shade and soften brighter colors.
- Colors you will use. If you mostly color florals, character art, or cozy interiors, choose sets that support those subjects.
- A manageable choice load. Fewer markers can help you learn faster because you'll repeat combinations and remember them.
A small example helps. Say you're coloring a mushroom cottage scene. A beginner with a balanced set can use one light red, one medium red, and one darker red for the cap. Then a cream and warm gray for the walls. Then two greens for moss and leaves. That's enough to create believable dimension.
A beginner with a giant but chaotic set often spends more time hunting than coloring.
Don't judge your first set by how complete it looks. Judge it by whether it teaches you how values work together.
If you want help building a color group before buying physical markers, a palette generator for marker-friendly schemes can make the planning part less random.
From Digital Inspiration to Physical Art
A lot of modern coloring starts on a screen. You save a palette from Pinterest, screenshot a beautifully colored page, or test ideas in a digital app. Then you sit down with physical markers and realize the translation isn't automatic.
That gap frustrates beginners more than almost anything else.
Why screen color and marker color don't match perfectly
Screens are backlit. Paper isn't. A digital teal may glow on your phone, then look softer, duller, or warmer once it becomes ink on paper. Marker caps can also be misleading. And alcohol ink often looks different while wet than it does after it settles.
This is why beginners sometimes think they picked the “wrong” marker set when the problem lies in planning. The colors weren't tested in the medium they would use.
A simple habit helps: swatch your markers on the same paper you plan to color on. Not printer paper. Not a random scrap from another pad. The same surface. That gives you a realistic reference for blends, dryness, and value steps.
A simple way to plan before you color
This is also where digital support can be useful. Some artists build their own swatch charts and palette notes. Others use reference boards or screenshots. Another option is a tool that previews marker-style palettes and aligns them with real marker systems.
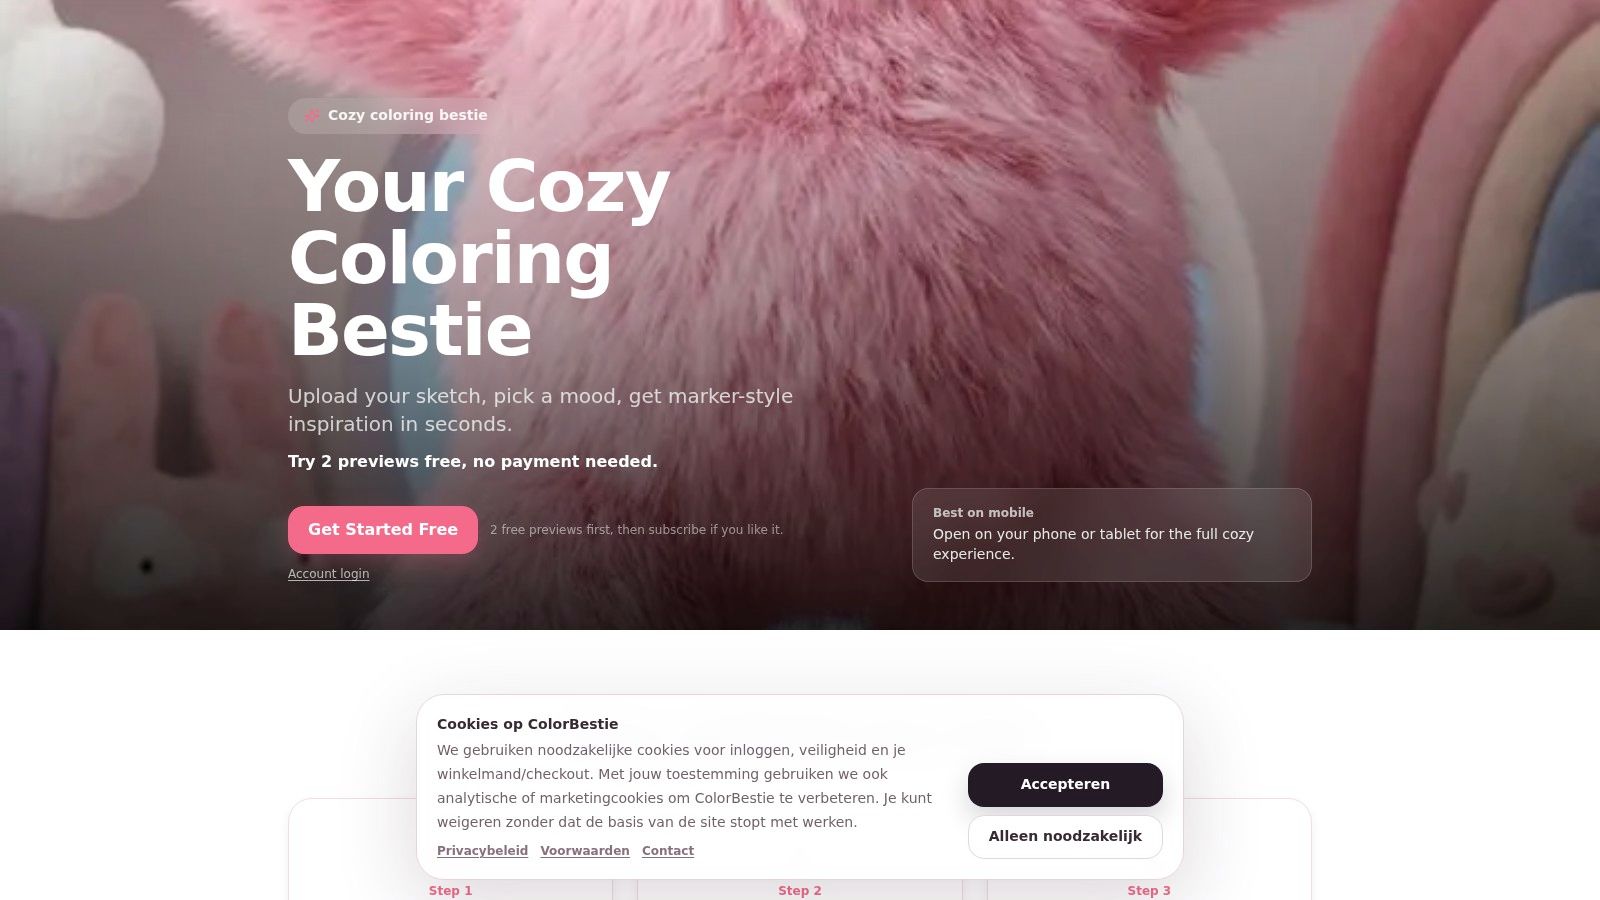
For beginners, that matters because “good color harmony” is still abstract until it becomes specific marker choices. If you upload a sketch or reference image and get a marker-style preview tied to brands you already use, the jump from inspiration to action gets much smaller.
Here's a practical workflow:
- Choose your image or coloring page. This can be a printed page, a sketch, or a reference scene.
- Decide the mood first. Warm sunset? Soft pastel? Moody forest? Mood is easier to choose than exact marker codes.
- Preview possible palettes digitally. Use a tool, a swatch notebook, or your own saved references.
- Match those ideas to physical markers. Pull the actual colors and test them on scrap paper.
- Commit once the swatches agree. That's the moment to start the actual page.
ColorBestie is one example of this kind of bridge. It generates marker-style color inspiration and aligns palettes with marker systems used by brands like Ohuhu, Copic, and Prismacolor, which can make digital ideas easier to translate into physical marker choices.
Screen inspiration works best when you treat it as a draft, not a final promise.
That mindset saves a lot of disappointment. Your goal isn't to force paper to behave like a phone screen. Your goal is to use digital inspiration as a planning partner, then let the physical markers do what they do best.
Essential Tips for Paper Blending and Care
Many beginner problems that seem like “bad markers” are paper problems, technique problems, or storage problems. That's good news, because those are easier to fix than you think.
Paper makes a bigger difference than beginners expect
Alcohol markers need the right surface. On paper that's too absorbent, ink spreads, bleeds, and dulls out fast. On better marker paper, the color sits more predictably and blends with less struggle.
If you've only tried alcohol markers on ordinary printer paper, you may not have seen what they can really do. A smoother marker paper or bleed-resistant sheet gives you cleaner fills and less feathering around lines.
Put a scrap sheet underneath your page, too. Alcohol markers often bleed through, even when you're using better paper. That isn't failure. That's normal behavior for the medium.
Two blending habits worth learning early
The first habit is simple: start light and build darker. It's easier to deepen a shadow than to pull a dark area back.
The second is to use a flicking motion when you want a gradient. Instead of scrubbing back and forth, pull the marker outward in little tapered strokes. Then meet that area with a neighboring color.
Try this on a leaf:
- Base layer with your light green
- Shadow pass with a medium green near the fold or lower edge
- Blend edge by lightly flicking the lighter green back into the medium area
- Deep accent only at the darkest spot if needed
That sequence teaches your hand how marker transitions work.
Basic care that keeps markers usable
Marker care doesn't need to be fancy, just consistent.
- Cap them firmly after use so the alcohol ink doesn't dry out.
- Store them horizontally so ink stays more evenly distributed.
- Keep them out of harsh heat or cold because extreme temperatures can affect performance.
A beginner who builds those habits early usually gets a smoother experience. Good technique matters, but so does giving your tools a fair chance to behave well.
Frequently Asked Questions About Alcohol Markers
Beginners usually hit the same handful of questions after their first few coloring sessions. Here are the ones that come up most often.
Are alcohol markers safe to use at home
They're commonly used at home by hobby artists, but they do have a noticeable smell compared with many water-based markers. A simple habit helps: color in a space with decent airflow. If you're sensitive to scent, test a small session first instead of diving into a long one.
For most casual use, people just work near an open window or in a room with fresh air moving through. You don't need to make it dramatic. You just want the space to feel comfortable.
Can you use them on regular paper
You can, but it usually won't feel very good. Regular printer paper tends to absorb too much ink, which can cause bleeding, feathering, and flatter-looking color.
If that's all you have, use it for practice swatches, not for pages you care about. For actual coloring, marker-friendly paper is the better choice.
What if you color outside the lines
This happens to everyone. First, let the area dry. Wet alcohol ink can spread more if you keep fussing with it.
Then decide whether the mistake can become part of the image. In florals, foliage, hair, fur, and textured backgrounds, tiny slips often disappear once more color goes around them. In coloring pages, some artists also use gel pens or colored pencil details afterward to visually tidy small edges.
Most marker mistakes look worse while wet than they do once dry.
The bigger lesson is to slow down around edges and use the tip that gives you the control you need. If you struggle with tiny enclosed spaces, a fine tip may feel steadier than a brush nib.
Are alcohol markers permanent
They're generally treated as permanent once dry on many surfaces, which is one reason people like them for bold, clean color. But “permanent” doesn't mean unchangeable in every situation. Paper type, layering, and the specific marker line all affect the result.
In practice, it's safest to assume that once the ink dries, you won't fully erase it. That's why swatching and light-first layering matter so much.
Do I need expensive markers to learn well
No. Premium markers can be lovely, but beginners can learn a lot on budget-friendly brands. What matters most early on is choosing a set you'll use, on paper that supports blending, with enough tonal variety to practice simple shadows and transitions.
Which is better for a beginner, brush tip or fine tip
It depends on your art style. Brush tips usually feel more fluid for coloring and soft blends. Fine tips usually feel more controlled for small details and line-heavy work. If you mainly color adult coloring pages, many people prefer a brush option. If you draw manga details or tiny decorative spaces, fine tips can feel easier to steer.
If you want a gentle way to plan palettes before you commit ink to paper, ColorBestie can help you turn black-and-white sketches into marker-style color previews and match those ideas to real marker systems like Ohuhu, Copic, and Prismacolor. It's a practical option when you like digital inspiration but want clearer next steps for physical coloring.
